Quick Start Conditional Logic
Let's create a small example. First, create a new form called Compliance. We will use this form to demonstrate basic conditional logic by building it step by step.
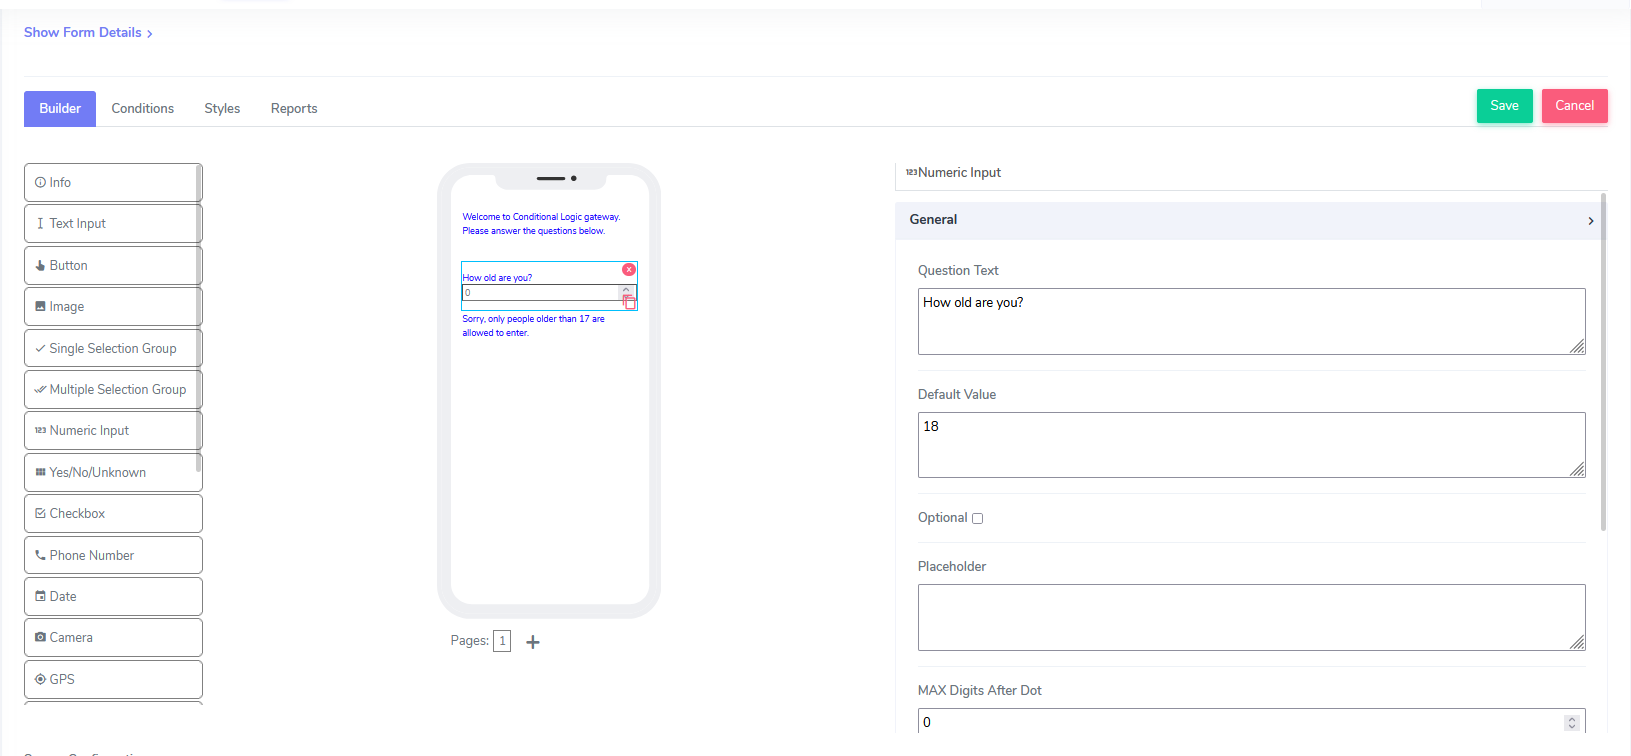
To start, we will add three elements to the form app called Conditional Logics.
The elements from top to bottom are:
An info element with the text: "Welcome to the Conditional Logic Gateway. Please answer the questions below."
A numeric input element with a default value of 18.
An info text element with the text: "Sorry, only people older than 17 are allowed to enter."
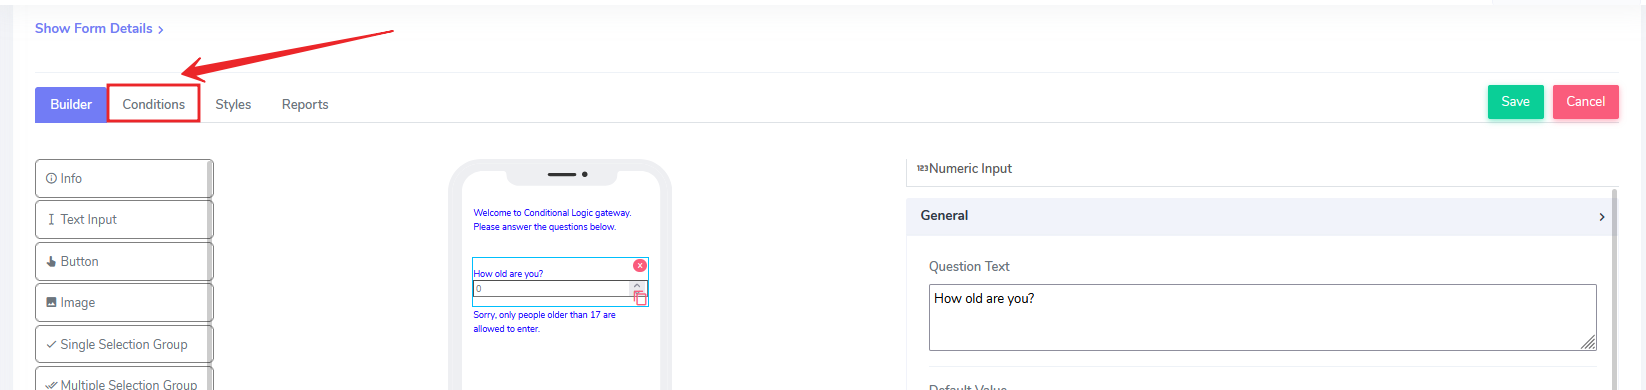
Conditional logics have their own designated tab inside the Admin Builder. Click on the Conditions tab to access it.
The Conditions tab screen displays a phone screen emulator on the left as the default screen, and an empty Conditions form template on the right.
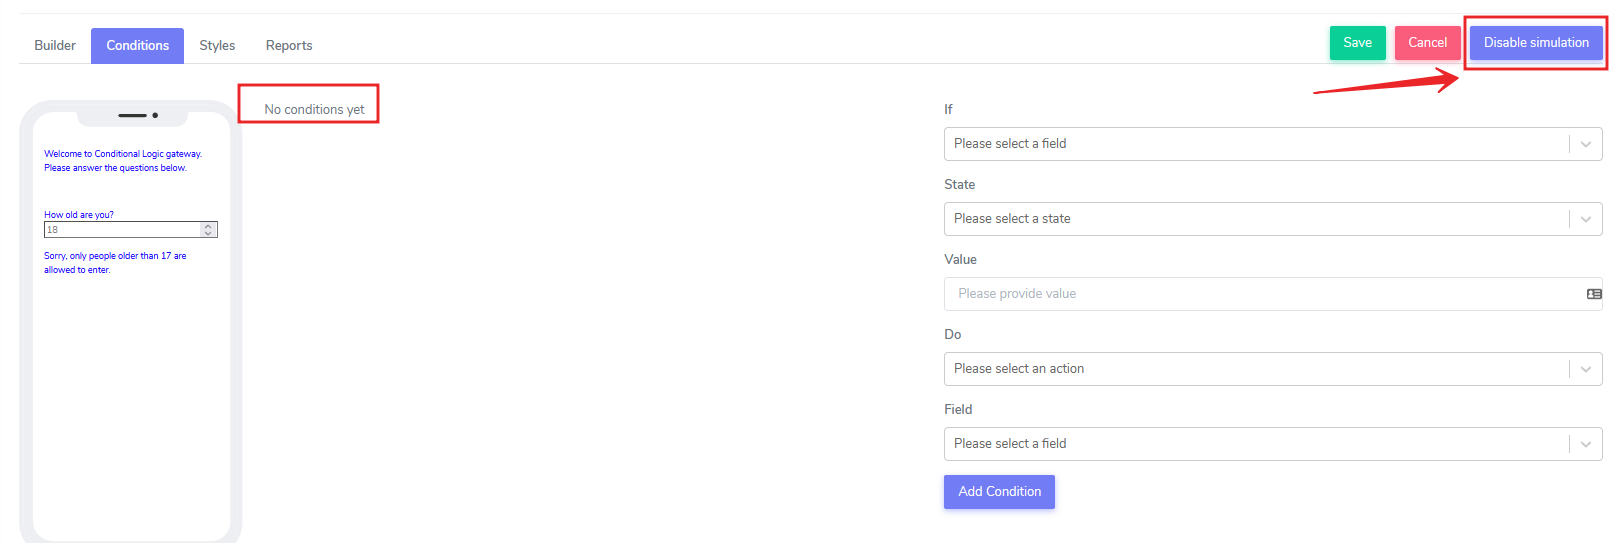
There is an additional button next to the Save and Cancel buttons called Disable simulation. This button can be used if the user does not want to see the conditions in action, as the build process may be too complicated to follow at run time.
By default, no conditions are applied to the app.
Let's add our first conditional logic.
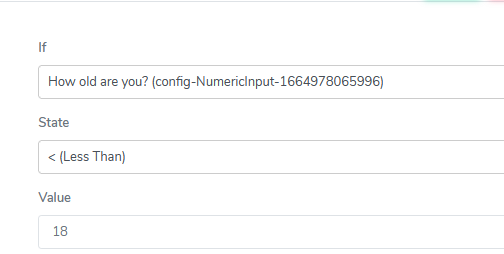
Step 1 - On the Conditional template, click on the "Please select a field" field and select "How old are you?" from the dropdown...
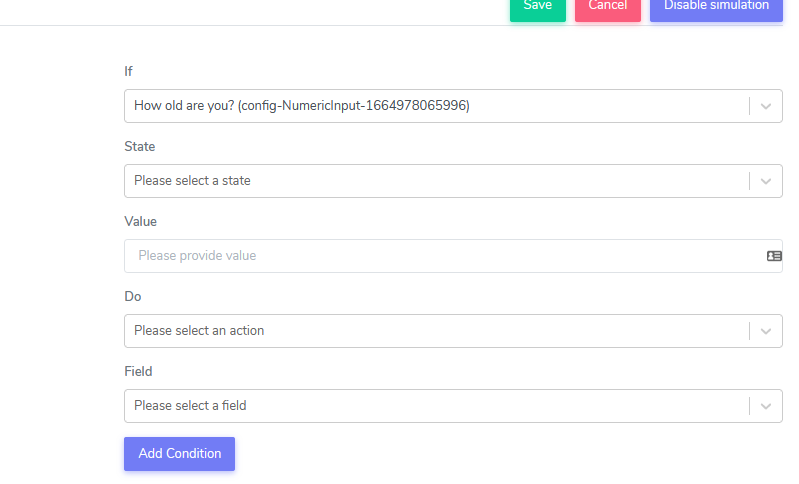
ACENji marks the field with a unique suffix, so the actual field will differ from the selection based on the suffix. The user should ignore the presence of the suffix.
Step 2 - Under the 'State' section, the following criteria are currently available for selection:
- = (Equal Strict)
- <> (Not Equal)
- < (Less Than)
- > (Greater Than)
- <= (Less Or Equal)
- >= (Greater or Equal)
- Exists
- Not Exists
For now, just select < (Less Than).
Step 3 - Then, in the field below called 'Value', add the number 18.
At this point, our conditional logic is like this: if the entry value of the field text box 'How old are you' is less than 17, then do the following:
Let's go ahead and finish the 'Do' part now.
Step 4: Select from the drop-down menu for 'Do', the value 'Show'. This is probably the most important part of the conditional logic, as we are telling the app to show the following field when selected in Step 5.
Step 5: Select from the Field dropdown 'Sorry, only people older than...'
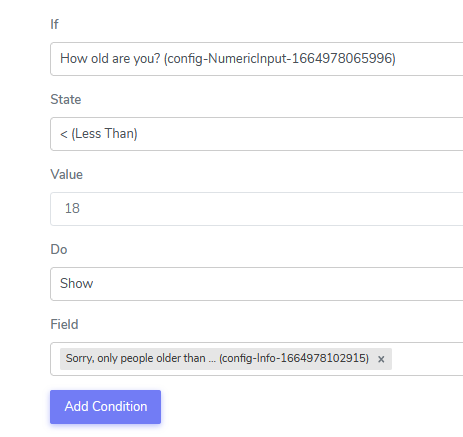
Steps 4 and 5 accomplish two things: they define that when a user adds a value bigger than 18, the user should not see the info element with the label "Sorry, only people older than 17...". The second, more interesting part is that by default, the system automatically hides that element. This is a little contrary to human logic, but basically the ACENji language is telling the user that when you use "Show" for a text, that text automatically becomes hidden in general. This saves a ton of nested conditions in the future.
Step 6: Add a condition by clicking on the "Add Condition" button.
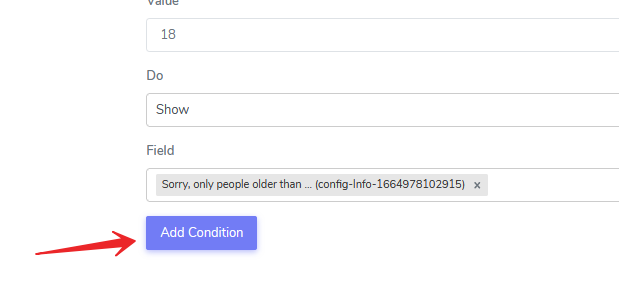
That immediately adds the first condition block on the screen. The block has a title that is usually made up of the element value that is the basis of the condition, an action, and the target element. The block also has four build buttons that are only visible when you hover over it to keep the view of the block clear.
The buttons are: Delete, Edit, Clone, and Disable. See the video below to learn how the buttons interact with the user.
Step 7: Save.
Now that our app has conditional logic embedded, let's go ahead and test it in the app store.
As we can see from the video above, when the user enters 5 for age, the system displays the sorry message, but when the user enters 59, the message disappears.
Questions?
If you have any questions, please don't hesitate to contact us.
Alternatively, you can submit an issue on this platform.
Useful Links:
Learn about the Numeric Input Element - https://help.acenji.com/#/./elements/numeric-input/index
Using the Modal Form Element - https://help.acenji.com/#/./elements/modal-form/index
Learn about the Rich Editor Element - https://help.acenji.com/#/./elements/rich-editor/index