Price Table - What it is and how to use it?
A price table is a user interface element that displays a set of pricing options for a product or service. It typically includes a list of features or benefits associated with each option, along with the price and any other relevant information. Price table elements can only be used within Cards.
How does the Price Table work? Before we answer that question, let's first examine the problem that the Price Table element solves.
Imagine you have an inventory of basic food ingredients, and they have prices based on volume brackets.
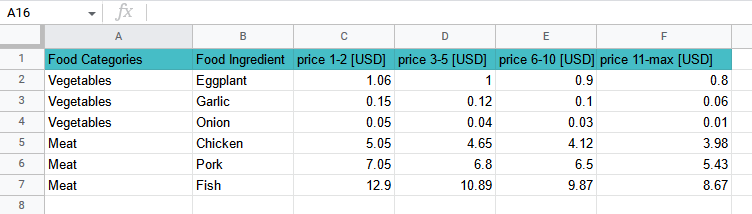
Wouldn't it be nice to have a calculator that reads the actual prices behind the scenes and calculates the exact amount on the fly? And what if this could be done on a cellphone and sent as a quote or even a money order? Even the most complicated prices can be accommodated within the Price Table no-code element by Acenji. Furthermore, you can combine it with other no-code elements to apply discounts, additional charges, and more. The following is an example of how to use such a Price Table element.
The example is for the price range (the more complicated example), so the simplified version will be a single price - just remove the price range. To start, we will use several dropdowns, a quantity field, and a display price field. The final configuration looks like this:
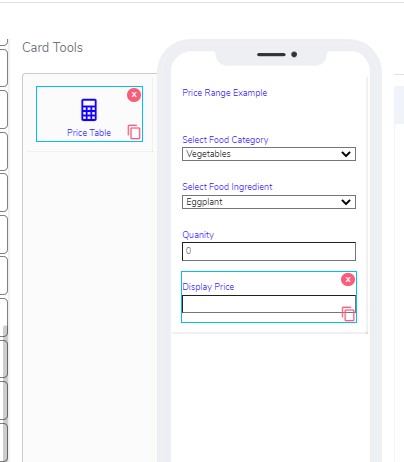
The above card example project demonstrates how the Price Table works with a range of volumes:
First, we added label info on top that is just the title.
Then, we added a dropdown called "Select food category."
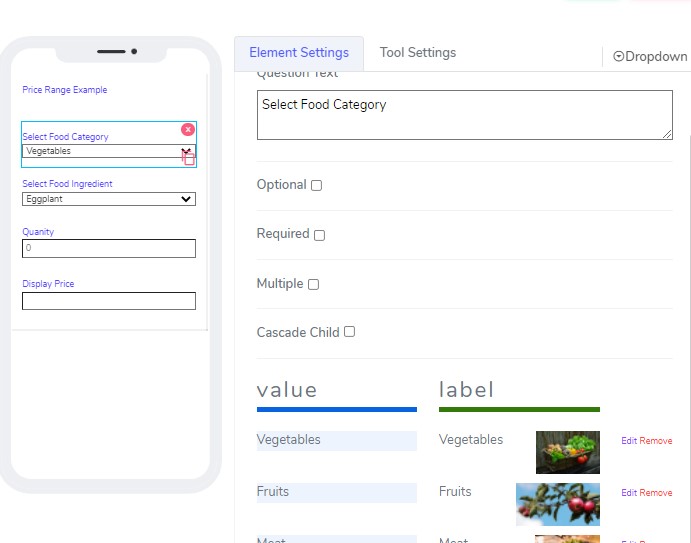
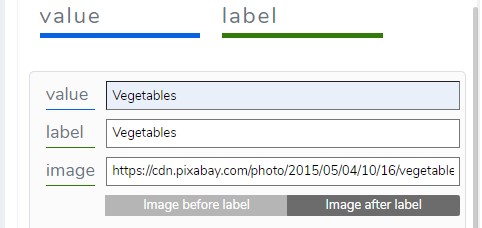
- We added three categories: Vegetables, Fruits, and Meat. Here is an example:
- Next, we added another dropdown for selecting the food ingredients.
Select the Cascade Child checkbox and choose “Select food category.”
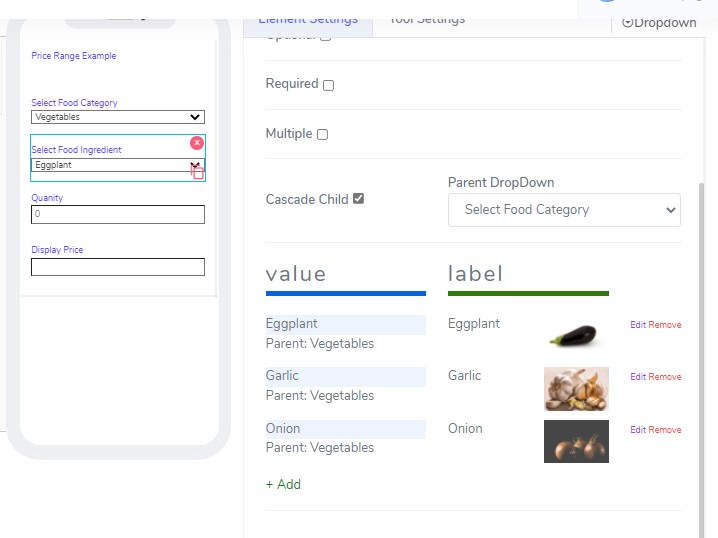
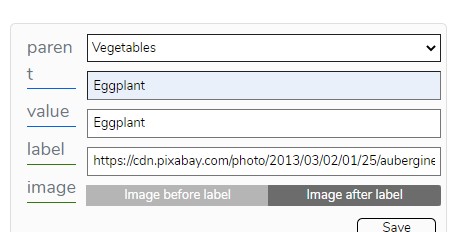
We added a few veggies, for example:
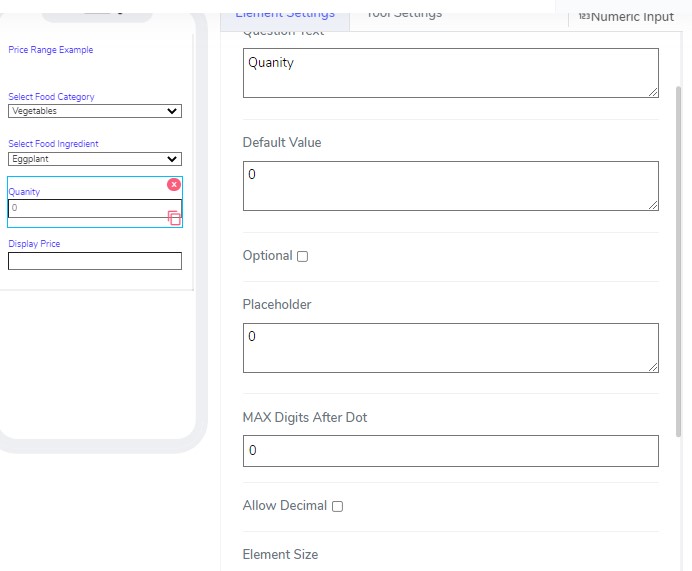
- We added a numeric field called "quantity."
We will use that field to indicate how many items we are buying.
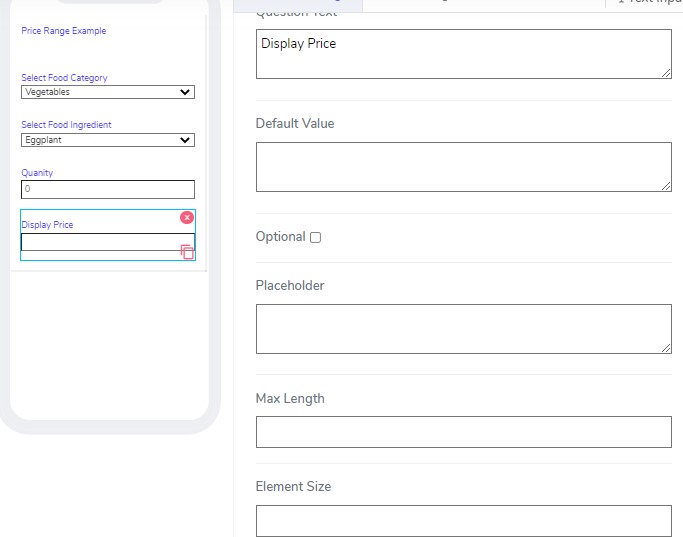
- We added a text field called "display price."
This field is auto-populated, so no need to do anything.
- Finally, we added the price element.
To add the price element, drag it so it comes from the bottom of the cell phone without touching other elements.
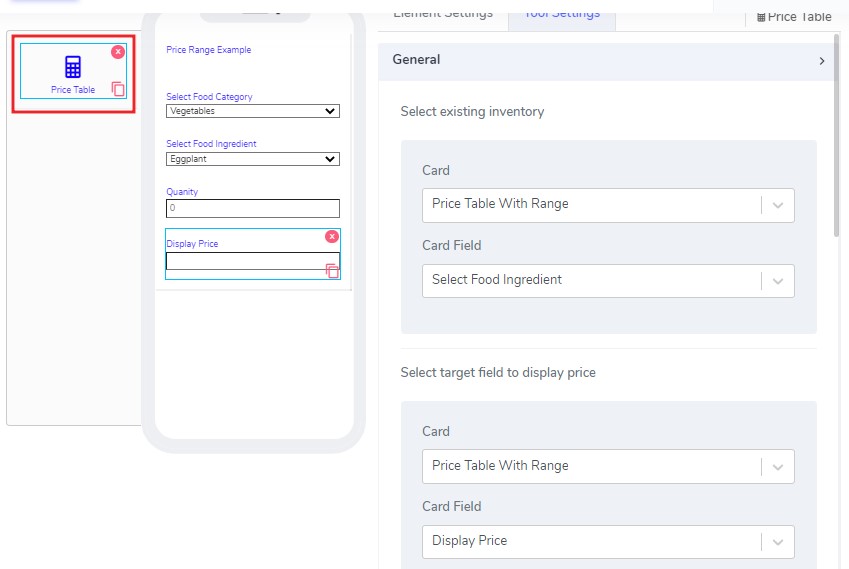
When you add that element, it comes with a few settings:
First, select the card and the card field you want the price to be displayed against.
Then select which card and field to display the price.
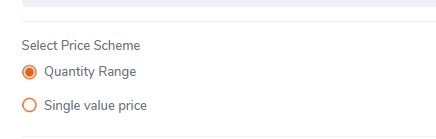
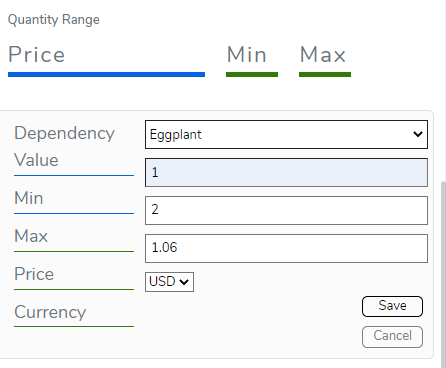
- Next, select a single quantity or quantity range for the price:
Quantity range means that one item can have multiple prices based on volume. For example, range 1-10 price1, 11-20 price2, etc.
Finally, select the quantity field.
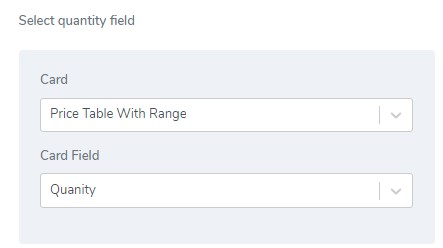
That field could be from another card and is usually input by users at runtime.
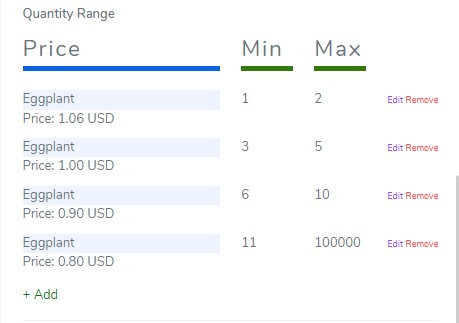
- Then, you add the prices for each item. An example of eggplant prices is shown below:
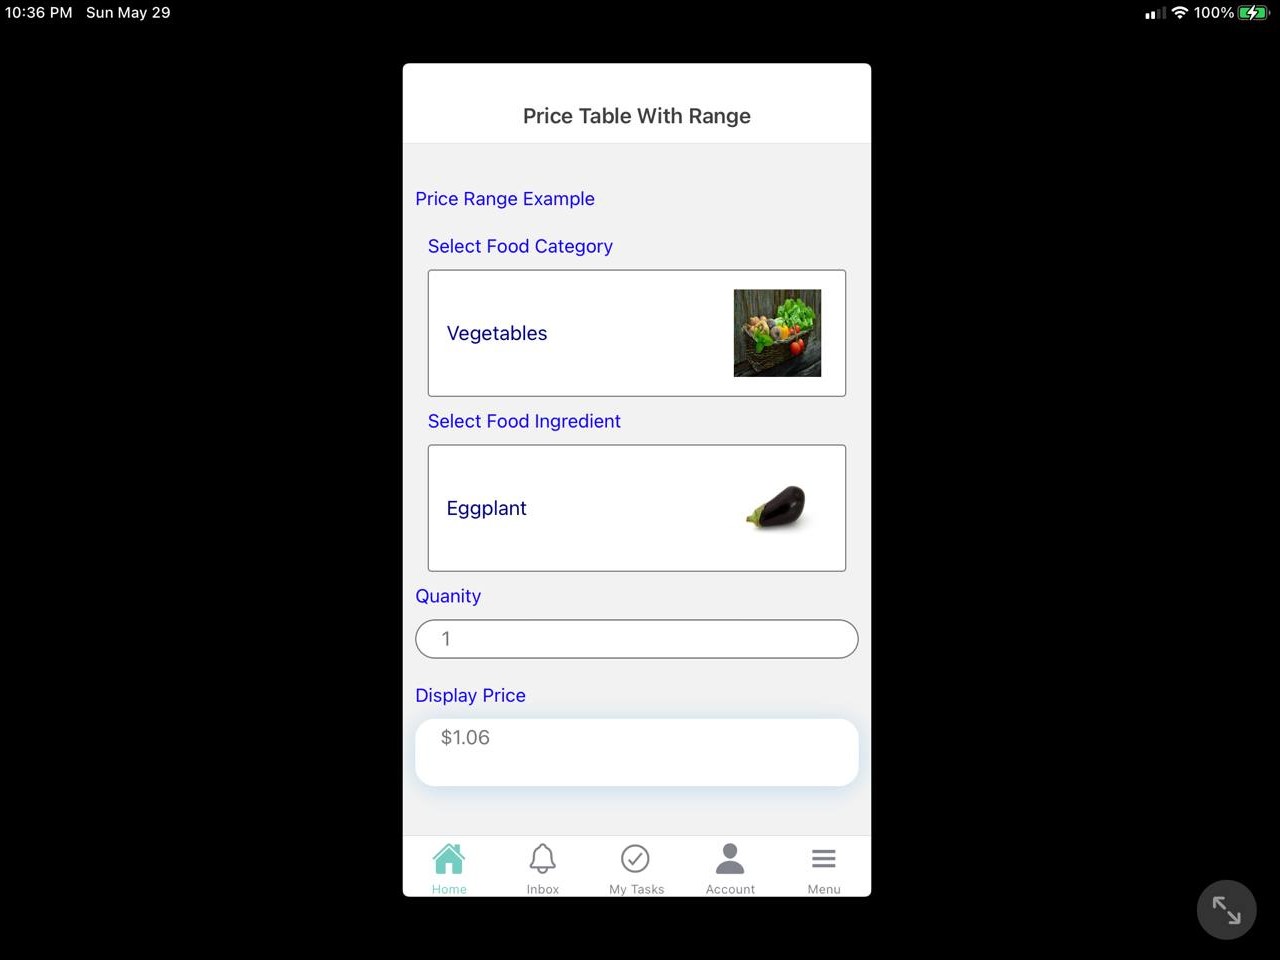
Actual image from a cellphone app:
When using price table elements in Acenji, keep these tips in mind:
Make sure the table is easy to read and understand. Use clear language and a consistent layout for each option.
Look for the pricing information easily. It should be clear and easy to find.
If there are multiple pricing options available, use a toggle or dropdown menu to make it easy to switch between them.
Ensure that the table is responsive and works well on different screen sizes and devices. This can be achieved using responsive design techniques.
By following these tips, you can use the price table effectively to help users compare different pricing options and make an informed decision.
Questions?
If you have any questions, please don't hesitate to contact us.
Alternatively, you can submit an issue on this platform.
Useful Links:
Using the Slider Element - https://help.acenji.com/#/./elements/slider/index
Using the Signature Element - https://help.acenji.com/#/./elements/signature/index
Learn about the Rich Editor Element - https://help.acenji.com/#/./elements/rich-editor/index